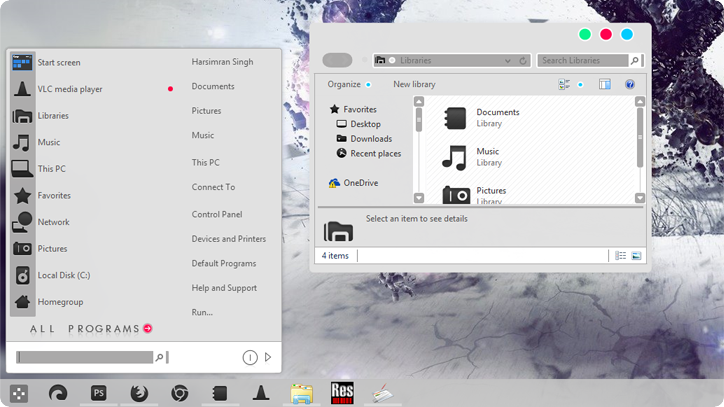
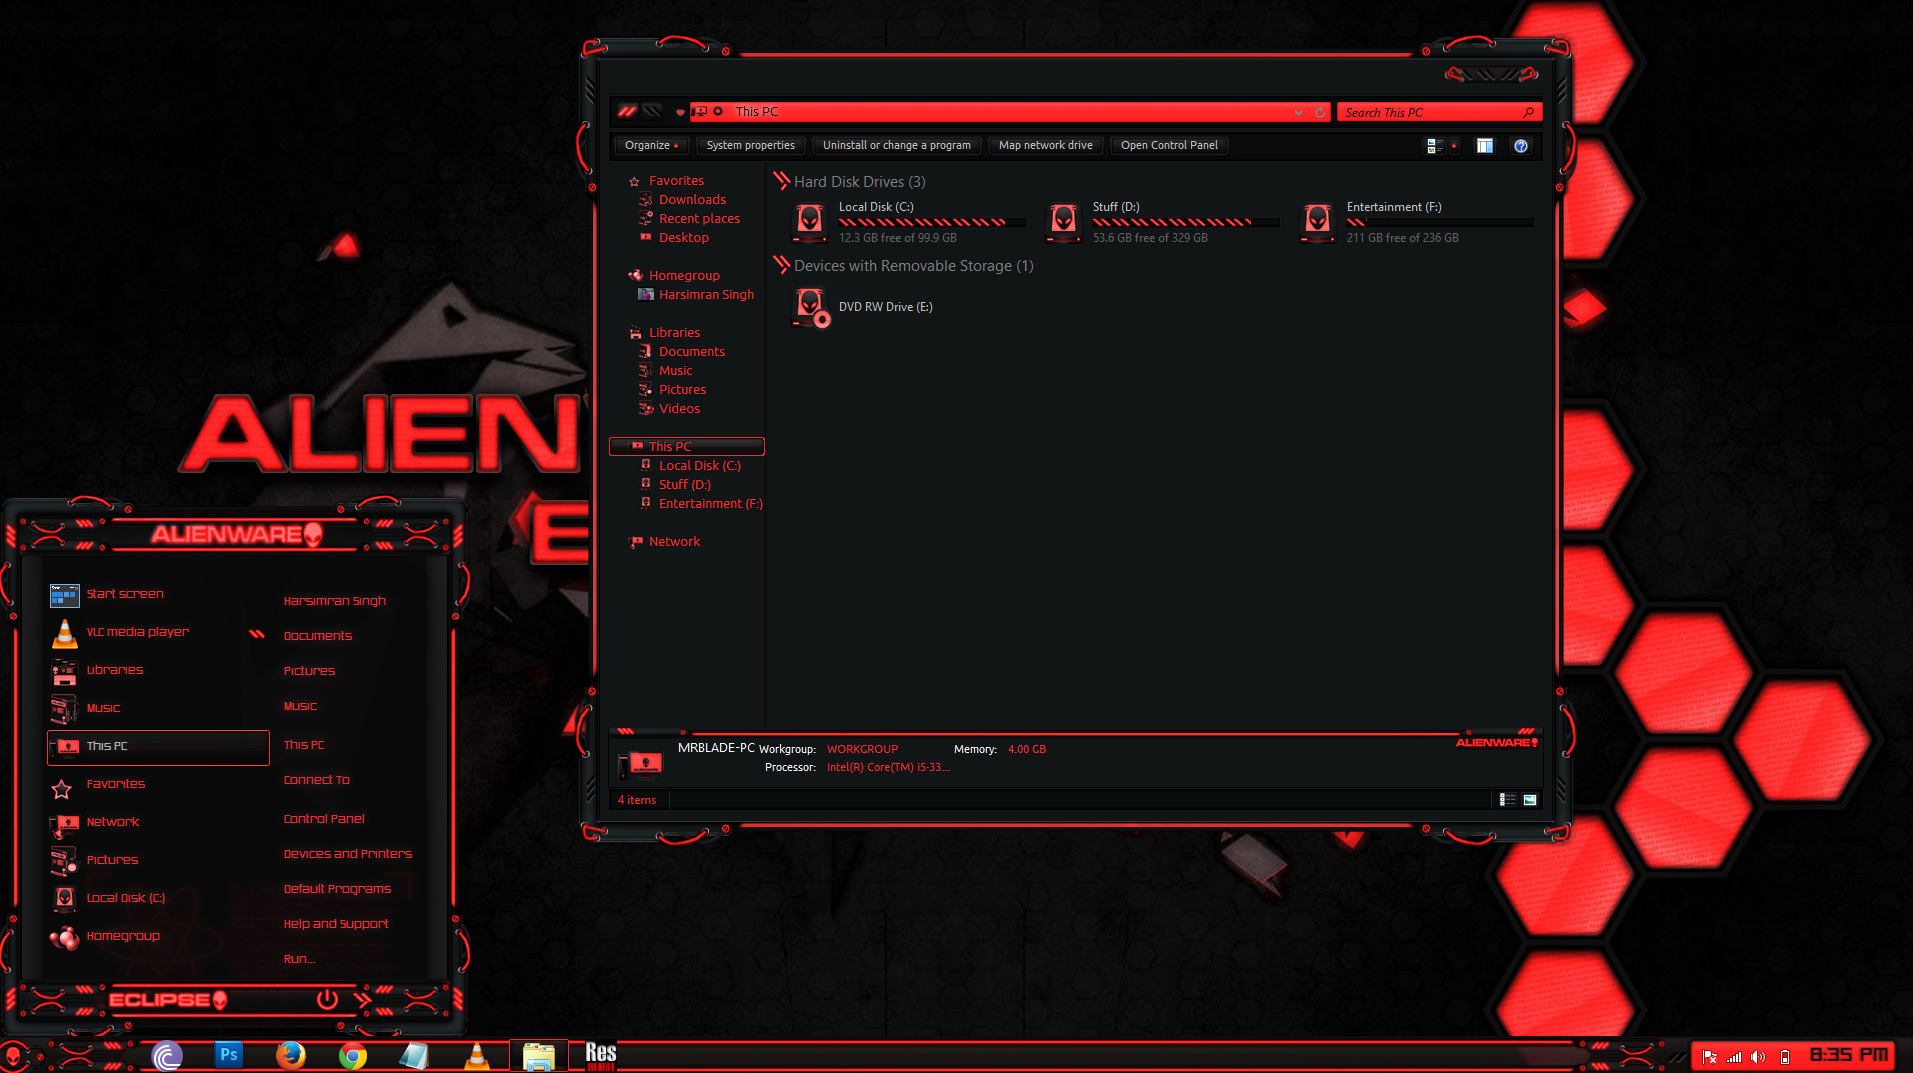
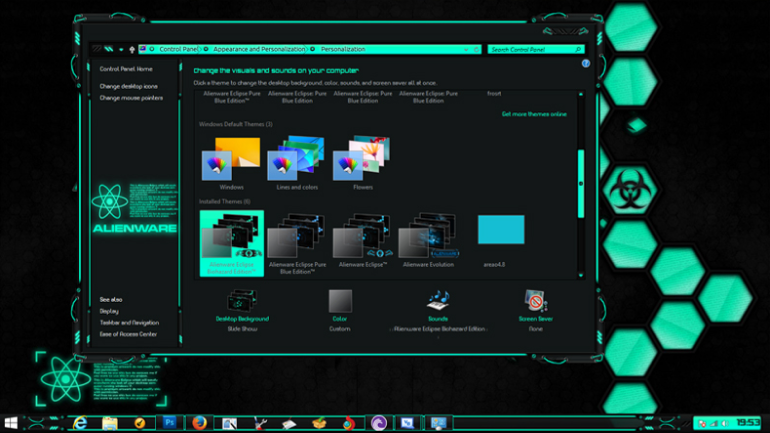
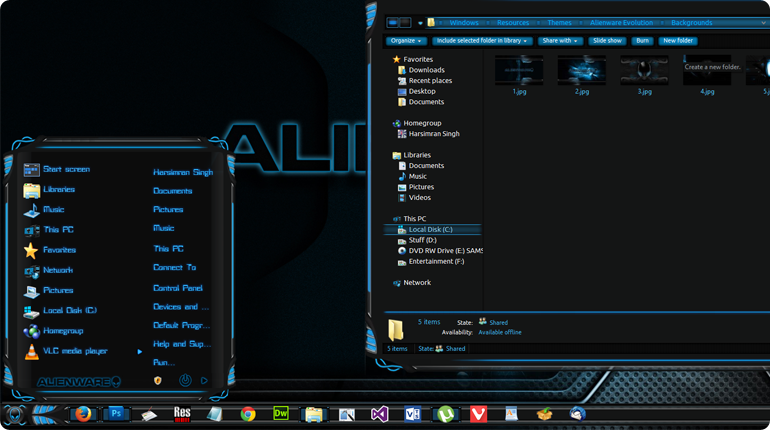
Categories
Windows 8

Transparency on Windows 8 & 8.1 without Aero Glass

Ever wanted to have transparency like Windows 7 on your windows 8/8.1 system? I bet you do.I came across Aero Glass but it wasn’t working for me.Every time I installed that little piece of software, it showed me “Incompatible DWM” and an ugly Watermark on bottom right of my desktop.I even tried to restart after installing it and all I got was a black screen & a message “Incompatible DWM” after logging in.So I started digging up the internet but I couldn’t find any best alternative to this but I do found some softwares which helped me to achieve usable transparency ( without aero blur ).

I couldn’t find any article on the internet which showed how to use these software’s together to achieve a true , stable transparency, so here I am writing this tutorial.All you gonna need is these 2 software’s (Download link at the bottom) :

  • WinaeroGlass.exeblendsettings
  • bLend.exe

First apply your theme let’s say aero it is.Now launch WinaeroGlass.exe. This doesn’t have any GUI interface, you just have to double click it and it will start and you will see transparent windows border.You are not done yet.The problem with this software alone is that you will find some flickering transparent windows when you move them and you will see you really can’t use those transparent windows so we are gonna need our second software bLend.exe.

After you are done with above steps, launch bLend.exe (with administrator rights).  A window will popup, the settings you need to change are highlighted in red in the image.

That’s all folks! You will love your new transparent borders on windows 8 and 8.1 systems.This is not working on Windows 10.

You might even want to  try my glass theme which works using these two software’s, here’s Infinitum VS


Download Links:

Categories
iPack Windows 8

OS X Minimalism iPack

OS X Minimalism is an icon pack with a touch of OS X icons & Minimal icons. Most of the icons are available in .png format(see credits). I just converted these .png icons into Icon pack Installer.

Changelog v1.1:

[+] Changed icons in imagres.dll
[+] Windows Media Player icon
[+] Calculator Icon
[+] Regedit Icon
[+] Zipfldr Icon


os_x_minimalismSupported OS: Windows 7, 8, 8.1 and 10.

Version: 1.1


Credits:
http://xenatt.deviantart.com/art/MINIMALISM-MAC-OS-X-ICONS-V4-369736137
http://7themes.su/stuff/ikons_for_windows_7/7tsp_iconpacks/os_x_flat/4-1-0-562
http://appicns.com/

Most of the icon are not made by me. I’ve made  icons from png files & then made an iPack ( Icon Pack Installer )


Files that will be patched:OS_X_snap

  • Chrome.exe
  • Firefox.exe
  • calc.exe
  • cmd.exe
  • imageres.dll
  • regedit.exe
  • imagesp1.dll
  • wmplayer.exe (windows media player)
  • zipfldr.dll


-You are using this on your own risk!
-After install/uninstall if you can’t see all icons changed then use “Refresh Icons.exe”

Download Link


download_btn


Categories
iPack Windows 8

Minium2mix iPack for Windows 8.1

This icon-patcher was created using iPack Builder v2: Tool for icon customization created & developed by Mr-Blade.

Bullet; Green Included in the .zip you’ll find a text-file with instructions about re-naming both the included minium2mix iPack and the Reload Icons Cache tool.

Due to deviantART’s policy concerning executable files, I’ve had to give this installer and the icon-reload tool the temporary “.ee” file extension. You’ll need to change that extension for both files to an “.exe”…so that the files will then become ‘minium2mix.exe’ and ‘Reload Icons Cache.exe’…

The iPack setup is simple. Simply double-click the patcher (You can skip through the ad that opens after the License Info). Unlike other icon-patchers, such as 7tsp, iPacks only need a single computer-restart after the patcher does its magic. Much faster than 7tsp.

MIX INCLUDES:

Icons – 

Sidebar – Mac OS X Lion Style Sidebar Icons
by Susumu Yoshida dribbble.com/shots/147868-Mac-…

Windows – Mix of Mac OS X & MINIUM2 for Windows
by RADE8 browse.deviantart.com/art/MINI…

Credits: Neiio


download_btn
Categories
iPack Windows 8

Nox iPack Icon Patcher

I am just posting these icons on the behalf of YN1F, these icons are not done by me and I do not take credits for this!

This icon-patcher was created using iPack Builder v2.0, a rather new but very cool software created/developed by theming-master Mr.Blade (aka Mr-Blade here at deviantART). To find out more about iPack Builder, please see this post.

:bulletgreen: Included in the .zip you’ll find a text-file with instructions about re-naming both the included Nox iPack Icon Patcher and the Reload Icons Cache tool. Due to deviantART’s policy concerning executable files, I’ve had to give this installer and the icon-reload tool the temporary “.ee” file extension. You’ll need to change that extension for both files to an “.exe”…so that the files will then become ‘Nox iPack Icon Patcher.exe’ and ‘Reload Icons Cache.exe’…


The iPack setup is simple. Simply double-click the patcher (You can skip through the ad that opens after the License Info). Unlike other icon-patchers, such as 7tsp, iPacks only need a single computer-restart after the patcher does its magic. Much faster than 7tsp.


download_btn
Categories
Reviews Windows 8

Run windows 8 apps(Metro) in windowed mode: Modern Mix

We all know that the Metro apps on windows 8 and 8.1 runs in full screen mode, so ever wanted to run those apps in windowed mode?windowsapps
Here’s the solution:
Use a software called ModernMix by Stardock.Well starrdock isn’t a new name in the field of customization and now they have this software which will help you to run windows metro apps.

Feature:

•Run Windows 8 Modern apps in a window on the desktop
•Display and pin Modern apps on the taskbar
•Explicitly close Modern apps by clicking its close button


 Watch it in action:


download_btn
Categories
Tutorials Windows 8

Import windows 7 themes to windows 8 & 8.1: Mega Tutorial

Hello everyone, have you ever wondered or wished that some of of your coolest windows 7 theme should have been built for 8 & 8.1? Don’t you worry, in this tutorial I will teach how to successfully port a windows 7 theme to 8 & 8.1

Hassle free, easy steps with pictures.

Special thanks to Mr Grim

Step1.

First of all you need WSB(Windows style builder) here it is Link

Then you need some modified files for this WSB (Download all attachments included at the end of the post).

Now after downloading and installing WSB, open the programs files of WSB then open folder->Data.

Then replace the files with newly downloaded attachments.

Step2.

Start the application then goto to Open -> Import a Windows 7 style.

Navigate and open a windows 7 .msstyles file

After successfully opening, don’t do anything just click on save.

Step3.

Restart WSB and open the saved .msstyles (the new .msstyles which you saved in step 2) and test it and see if it’s working.If it isn’t repeat step 2.

import1

Congratulations! You have successfully imported the theme now we just need some modifications to make the theme work properly!

Step4.

Goto Explorer & Shell > Explorer > ProperTree > Navigation Text

Add a textcolor property to above location.

Step5.

Now save your .msstyle and test it!

You will find some problems in your new theme.import2

General problems and their fixes:

1.) In my computer, you will noice the right side part is white,

you can change that color at:

Explorer & Shell > Explorer > ProperTree > Background > FILLCOLOR:COLOR

and change the colors of the properties inside this:

Explorer & Shell > Explorer > Items View > ItemsView > Details

———————————————————————————————————————————————————————————–

2.)import3Most of the times I noticed in My computer that this area in the image is white( almost every time)

To change this color/image, navigate to below mentioned 4 places and change the color or image:

Toolbars, Headers, & Rebar > Rebar > NavBar > Aero > Normal > Active > Background

Toolbars, Headers, & Rebar > Rebar > NavBar > Aero > Normal > Inactive > Background

Toolbars, Headers, & Rebar > Rebar > NavBar > Aero > Max > Active > Background

Toolbars, Headers, & Rebar > Rebar > NavBar > Aero > Max > Inactive > Background

———————————————————————————————————————————————————————————–

3.)After import your theme will have default navigation buttonsimport5

You can change them at:

Buttons, Boxes, & Controls > Buttons > Navigation

———————————————————————————————————————————————————————————–

4.)

import6The text color in windows explorer is black as you can see in the image attached.

It’s almost unreadable in dark themes.

To change the color navigate to:

Explorer & Shell > Explorer > Items View > ItemsView > FILLCOLOR:COLOR

———————————————————————————————————————————————————————————–

5.) The Jumplist Bug and it’s FIX is HERE

———————————————————————————————————————————————————————————–

6.)Windows Title background colorimport7

Go to Fonts, Colors, & System Metrics > Colors (Globals) and change the COLORIZATIONCOLOR:INT

Go into your theme file. Change AutoColorization to equal zero and then add a ColorizationColor that is exactly the same as the one you added in the above step.


———————————————————————————————————————————————————————————–

How to add themeable control panel images and side panel images

In order to have those images which we had in windows 7 themes using Theme Resource Changer, we need to have OldNewExplorer installed and we need modified Shellstyle.dll file.

After installing OldNewExplorer , navigate to your theme folder like  C:\Windows\Resources\Themes\Alienware Eclipse Biohazard Edition

Now open the folder shell then open NormalColor folder and replace the shellstyle.dll file with the one I provide.

Download link is at the bottom.

After that open your theme in wsb and navigate to:import00

Explorer & Shell > Explorer > Control Panel > ControlPanel > NavigationPane

-The image 1 in wsb under navigationPane is the Image 632 from shell32.dll i.e the side image which appear in control panel, personalization etc.

-The second one is the image that appears over the above image in control panel. (see the corresponding image)

-The 3rd one is the image in control panel, see this is the image:
import0001

-To change Windows orb that appears when you open system properties, change the image at this place:

Explorer & Shell > Explorer > Control Panel > ControlPanel > ContentPane > <1>

-To change Genuine orb that appears in system properties at the bottom, change the image at this place:

Explorer & Shell > Explorer > Control Panel > ControlPanel > ContentPane > <2>


Download the attachments:
download_btn


Categories
Tutorials Windows 8

OldNewExplorer: A must have utility for Win8/8.1

snapdpaneI know most of the customizer’s, developers will be aware of this small utility but those how don’t know about this will get to know after reading this post!

So what it is?

OldNewExplorer is the Windows 8.1 and Windows 8shell extension / tweaker which can undo “improvements” to file browsing made in newer Windows version.

This small utility will help you to enable Preview pane, help to disable ribbon,Hide Up arrow and much more..

Simply, this will help you to make your windows 8/8.1 look more like windows 7.

Also unlike other patch’s this will not break the boot, this is a guarantee that this will work flawlessly.

Some more developer’s note:

– Restore devices / drives grouping

Everything is ‘Devices and drives’. That’s stupid! O-N-E can restore grouping which made sense in Win7/8.

– Restore libraries / remove folders

Remove all those folders which were unoptionally added into Windows 8.1 This PC folder and put the libraries back to their place, without registry hacking / breaking oldnewapps.

– Restore command bar / remove Ribbon

Because some people consider it an abomination.

– Restore details pane at bottom

Same reason; reclaim useful horizontal space.

– Improve styling

Get rid of some Win7 stuff here and there; improve styling with some built-in visual styles.

For themers / skinners, O-N-E can help to override a lot of hardcoded styling in Windows 8, maybe even Start screen!

This utility will also help windows theme developers to add themeable control panel images and side panel images, geniune image and shellbrd orb in their .msstyles!

Original Thread : Link

download_btn
Categories
Windows 8

Refresh / Reset Windows 8 / 8.1 without DVD

In this simple tutorial, I will teach you how you can refresh or reset your PC without the installation media.

Requirements:

1. ISO or Disc image for windows 8 / 8.1

2. Any archive opener like Winrar to open ISO.


Steps:

1.Open the ISO file or disc image file with Winrar

installwim

2.Navigate to Sources folder.

3.Search for install.wim

4.Copy and paste it on your desktop.It would be better if you paste it in some folder (more managed)

5. Lets say we have made a folder RefreshFiles in C: and had pasted the install.wim file in that folder.

6.After performing above steps Launch Command Prompt with admin privilege.(right click on Cmd -> run as admin)

7. Type this:

reagentc.exe /setosimage /path C:\RefreshFiles /target C:\Windows /Index 1

where C:\Windows is your working windows directory.
and C:\RefreshFiles is the folder where install.wim is present.

8.Now go to PC Settings  -> General and from there refresh or reset your PC without installation media!


Categories
Tutorials Windows 8

How to repair jumplist icons and images in windows 8.1 themes

Windows 8.1 .msstyle had some changes and there was no start in 8/8.1 so the location of jumplist was changed. In this post i”ll show you how you can modify your windows 8 theme to work on 8.1. The windows 8 theme runs good on 8.1 but there is a jumplist problem. You can see the image that how the jumplist look when we apply the windows 8 theme on 8.1:

Fix:

Remove all properties from:

Start Menu > Panels > Basic > Programs List > Panels > Programs List

Start Menu > Panels > Basic > Programs List > Panels > Programs List Extended

Start Menu > Panels > Basic > Programs List > Panels > Programs List Separator

Now add the properties

WIDTH:INT of 16 to Start Menu > Panels > Basic > Programs List > Panels > Programs List

WIDTH:INT of 5 and HEIGHT:INT of 2 to Start Menu > Panels > Basic > Programs List > Panels > Programs List Extended

WIDTH:INT of 4 and HEIGHT:INT of 10 to Start Menu > Panels > Basic > Programs List > Panels > Programs List Separator

Remove all properties from Start Menu > Panels > Basic > Programs List > Controls > More Programs Arrow

To see the Pin icons do everything I said in the above post and then remove all properties from Start Menu > Panels > Basic > Places List > Panels > Places List

jumplist fixand add property WIDTH:INT of 26 to it.

Jumplist part 1 (see attached image)

You can change this image by replacing the image from Start Menu > Panels > Aero >Top > Program List > More Programs Extended

Jumplist part 2

To change this part , you have to change the colorization color from the .theme file


Jumplist part 3

To add this image to jumplist, replace Start Menu > Panels > Aero>Top>Place List > Place List Extanded

and replace

jumplist 2


Start Menu > Panels > Aero>Top>Place List > Place List Separator

After performing above steps, you will fix the jumplist for window 8.1 theme.

Categories
Tutorials Windows 8

Skip Logon Screen on Windows

This doesn’t means you can bypass the logon screen when it asks for password.

skip logon

Steps:

-click start and search for netplwiz

-Now there will be any option ticked that user must enter username and password to use this computer. See the image

-Just uncheck it and it will ask you to enter password twice.

-Enter the password and click ok.

-Next time you boot, you won’t see logon screen. 🙂